How to set up admissions using a till
Summary
To enable fast queue busting at busy receptions, a quick admission process is available. It will only work for activities that do not have a variable length of time, or are time based (squash / tennis for example) or complex bookings with notes and choices (A sports hall with multiple parts and options). It will work very well for gym classes, gym floor admissions, and activities like swimming.
Setup
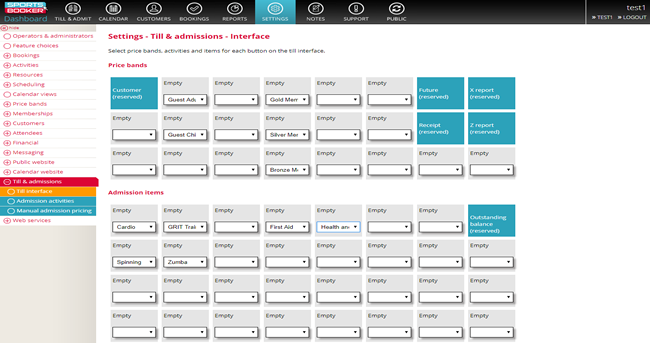
Go to Settings > Till & admissions > Till Interface.
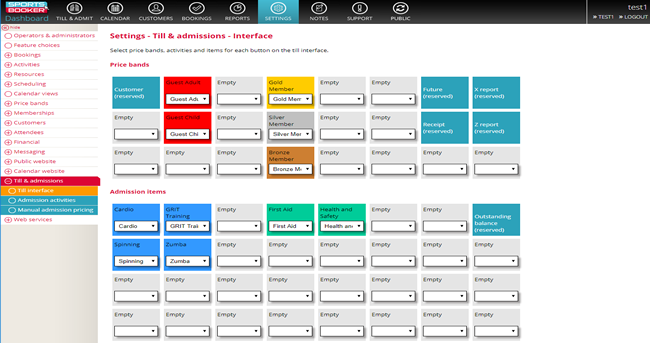
Add your price bands and admisison items to the till by using the drop-down boxes under the appropriate section - you can choose where to put these on the till so that certain activities or price bands can be grouped together.
Once you have entered all the price bands and admission items click Update details.
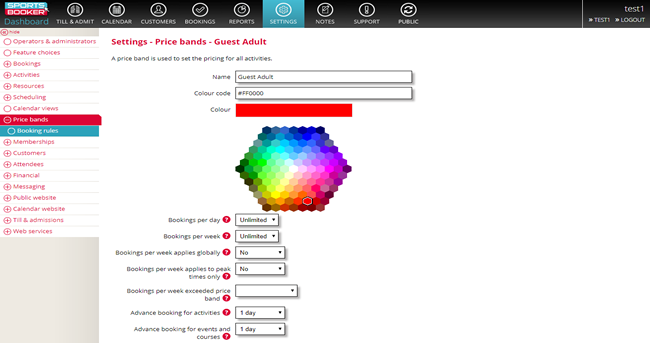
You can also change the colour of the price bands and admission items to make it visually easy for operators.
To do this go to Settings and open up the details of the price band or activity/item - then select the Display options green cross and change the colour.
All activities will show on the grid at all times but if there is not an instance of that activity in the next 4 hours, then it will be greyed out. If there is more than one in the next 4 hours, only the next one is shown.
If you are using our scanning software to provide access to a facility you will need to decide which activities you want to allow this for.
To do this go to Settings > Till & admissions > Admission activities and tick the activities you wish to create access for. Then click Update settings.
Operation
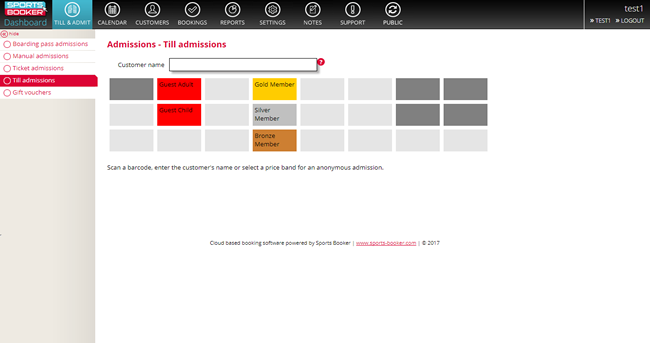
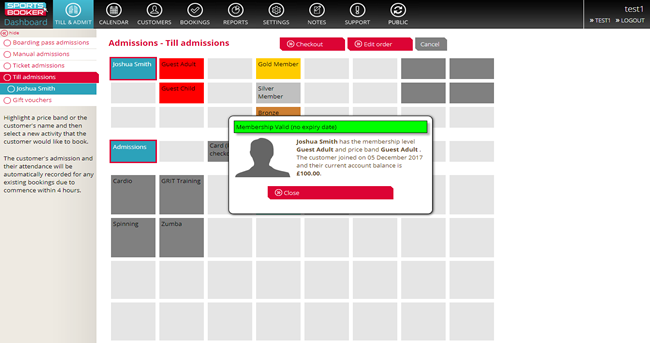
Go toTill & Admit at the top of the dashboard. Search and select the customer who is about to pay if they are registered on the system.
If the individual you are about to admit is a non registered guest then simply select the correct price band when you are presented with the screen shown above.
If a separate serial scanner is being used for fast tracking admissions, then there will also be an option to scan the customer's card at this stage.
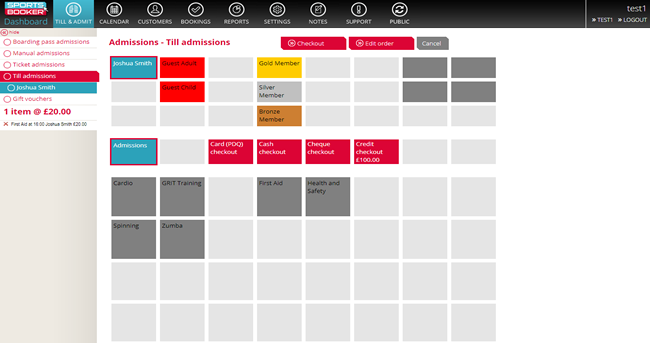
In this example, Mr Smith is attending a First Aid course.
Selecting the First Aid course from the till will show it as greyed out once all the spaces for that particular course have been filled. You can then see the course priced at £20 in the customer's basket on the left-hand side of the dashboard.
You would then proceed to Checkout as normal.
As you can this customer filled the last space on the course as the First Aid box is now greyed out.
If there were more spaces on the course and the the customer was with a a non-registered friend, then you would simply click on the appropriate price band and select the First Aid course again when you are presented with the above screen. This would add their order to the basket as well.

 Search
 Admissions